
Tag: troubleshooting

  • 5 Common PC Audio Mistakes That Ruin Your Sound Quality (And How to Fix Them)

    5 Common PC Audio Mistakes That Ruin Your Sound Quality (And How to Fix Them)

    Is your PC audio distorted, too quiet, or cutting out? These five common mistakes could be responsible, and simple changes to Windows settings and connections may help restore better sound.

    Overview

    • Outdated drivers can cause crackling, distortion, low volume, and unexpected audio interruptions on Windows PCs.
    • Incorrect audio settings may affect playback quality even when your headphones or speakers work properly.
    • Checking connections, output devices, and audio formats can resolve several common PC sound problems.

    When your PC starts sounding worse than usual, it is easy to blame the headphones or speakers. Yet, the hardware may not be the problem at all. A driver issue, an incorrect Windows setting, or even a loose cable can affect sound quality without giving you an obvious clue about what went wrong.

    Fix Simple Mistakes, Improve PC Audio

    Before you spend money on a new headset or speaker, it is worth checking a few simple things. Here are five common PC audio mistakes and what you can do to fix them:

    1. Not Updating Your Audio Drivers

    Audio drivers help Windows communicate with the sound hardware inside your PC. When a driver becomes outdated, corrupted, or incompatible after an update, you may start hearing crackling, distortion, low volume, or audio that cuts out unexpectedly. The problem can be easy to miss because Windows may still show that your headphones or speakers are connected.

    How to Fix It: Open Device Manager and go to Sound, video and game controllers. Find your audio device, right-click it, and select Update driver. If updating does not solve the problem, reinstall the driver or check your PC manufacturer’s website for a newer version.

    2. Leaving Audio Enhancements On

    Audio enhancements sound useful, but they do not always make your audio better. Depending on your PC and headphones, they can make music sound distorted, change the volume, or add effects you may not want. This is particularly noticeable when your headphones or speakers already have their own audio-processing features.

    How to Fix It: Go to Settings > System > Sound, select your audio device, and look for Audio enhancements. Turn them off and play the same song or video again. If the sound improves, you have likely found the culprit.

    3. Picking the Wrong Audio Format

    Windows allows you to choose different audio formats, including different sample rates and bit depths. While there is no single setting that works perfectly for every device, the wrong combination can sometimes result in distortion, dropouts, or inconsistent playback. This can happen after switching to a new pair of headphones or installing new audio software.

    How to Fix It: Open the settings for your audio device and go to its Advanced properties. Under Default format, try another available option and test your audio. If the problem gets worse, simply switch back.

    4. Sending Sound to the Wrong Device

    If you regularly connect Bluetooth headphones, USB speakers, a monitor, or a wired headset to your PC, there can be several audio outputs available at once. Windows may switch to another output when a new device is connected. You might then think your headphones have stopped working when the audio is actually being sent to your monitor or another connected device.

    How to Fix It: Go to Settings > System > Sound and check the Output section. Select the headphones or speakers you want to use and make sure they are the selected playback device.

    5. Overlooking Cables and Connections

    Sometimes, the simplest explanation is the right one. A loose cable, damaged connector, unreliable USB port, or unstable Bluetooth connection can all cause audio problems. The source you are listening to matters as well. If a song, video, or recording has poor quality or is heavily compressed, changing your Windows settings will not bring back the missing detail.

    How to Fix It: Reconnect your device, try another cable or USB port, and test the same headphones or speakers with another device. With Bluetooth, move closer to the PC and check whether other nearby devices could be causing interference.

    Final Thoughts

    Bad PC audio does not always mean your headphones or speakers need replacing. Quite often, the problem is hiding in a setting, driver, or connection that takes only a few minutes to check. So, before buying new audio hardware, start with the basics. Update the drivers, turn off unnecessary enhancements, check the audio format, select the right output, and inspect your connections. These simple checks could be enough to get your PC audio back to normal.

    FAQs

    Why does my PC audio sound distorted or crackly?

    Distorted or crackling audio can be caused by outdated drivers, audio enhancements, incorrect formats, damaged cables, Bluetooth interference, or problems with the connected audio device.

    How can I update my PC’s audio drivers?

    Open Device Manager, select Sound, video and game controllers, right-click your audio device, and choose Update driver. You can also check your manufacturer’s website.

    Should I turn off Windows audio enhancements?

    If your audio sounds unnatural, distorted, or overly processed, turn audio enhancements off and test playback. Some headphones and speakers already use their own audio-processing features.

    Why is my PC sending sound to the wrong device?

    Windows can switch audio output when you connect monitors, Bluetooth headphones, USB speakers, or wired headsets. Check Settings > System > Sound and select your preferred output.

    Can a poor-quality audio source affect sound quality?

    Yes. Heavily compressed music, videos, or recordings may already have lost audio detail. Changing Windows settings cannot restore information that was removed from the original source.
  • How to Stream JioHotstar on Your TV: A Complete Setup Guide

    How to Stream JioHotstar on Your TV: A Complete Setup Guide

    Watching movies, TV shows, and live sports on a smartphone is convenient, but a television offers a more comfortable viewing experience. If you want to stream JioHotstar on your TV, you can either install the app directly on a compatible smart TV or use a supported streaming device such as a Chromecast. The setup usually takes only a few minutes, but the exact process can vary depending on the TV brand, operating system, and streaming device. Here is everything you need to know about connecting JioHotstar to your television.

    Check JioHotstar Compatibility

    Before installing the app, check whether your TV or streaming device supports JioHotstar.

    • Check the TV model: Older smart TVs may not support the latest JioHotstar application.
    • Check the operating system: The required software version can determine whether the app appears in the TV’s app store.
    • Look for the app: If JioHotstar doesn’t appear in the store, check the device’s compatibility before trying other methods.

    Connect Your TV to Wi-Fi

    A stable internet connection is required to stream JioHotstar content.

    • Open Settings: Go to the network or Wi-Fi section on your television.
    • Select your network: Choose your home Wi-Fi connection from the available networks.
    • Enter the password: Complete the connection and wait for the TV to connect to the internet.
    • Check the connection: A weak or unstable network can cause buffering, playback interruptions, and login problems.

    Download JioHotstar App

    Once the television connects to the internet, install the streaming application.

    • Open the app store: Launch the application store available on your smart TV.
    • Search for JioHotstar: Enter ‘JioHotstar’ in the search bar.
    • Install the official app: Select the JioHotstar application and download it.
    • Launch the app: Open JioHotstar from the TV’s app menu after installation.
    • Update if required: If you already have an older Hotstar app installed, check whether an update is available.

    Sign in to Your JioHotstar Account

    After installing the app, connect your account.

    • Open JioHotstar: Launch the application and select Login or Sign In.
    • Follow the instructions: The TV will display the login method supported by the device and the app version.
    • Complete verification: Depending on the login process shown, you may need to enter your phone number and verify it using an OTP.
    • Use the correct account: Make sure you sign in with the JioHotstar account linked to your subscription.

    Enter the JioHotstar Activation Code

    Some televisions and streaming devices may show an activation code during login.

    • Look for the code: Keep the JioHotstar login screen open on the TV.
    • Use another device: Open the activation page JioHotstar provides on your smartphone or computer.
    • Sign in to your account: Use the same JioHotstar credentials you use on the TV.
    • Enter the TV code: Type the activation code displayed on your television.
    • Wait for confirmation: After successful authentication, the TV app should connect to your account.

    How to Watch JioHotstar Using Chromecast

    Chromecast offers another option for televisions without the JioHotstar app.

    • Connect Chromecast: Plug the Chromecast device into the television and complete its setup.
    • Connect to Wi-Fi: Make sure the smartphone and Chromecast are connected to the same Wi-Fi network.
    • Open JioHotstar: Launch the app on your smartphone.
    • Choose content: Select the movie, show, or live program you want to stream.
    • Tap Cast: Select the Cast icon when it appears.
    • Choose the TV: Select the Chromecast or compatible television from the list.
    • Start watching: The selected content should appear on the TV screen.

    JioHotstar supports Chromecast Gen 2 and newer devices, along with compatible televisions with Chromecast built-in.

    What to Do If JioHotstar Is Not Working

    Login or playback problems do not always mean the TV is incompatible. Try these basic troubleshooting steps first.

    • Check the internet: Make sure the TV stays connected to Wi-Fi.
    • Restart the TV: Turn off the TV and restart it before opening JioHotstar again.
    • Restart the router: Restarting the router can resolve temporary connectivity problems.
    • Update the app: Install the latest available version of JioHotstar.
    • Update the TV software: Check whether a system update is available.
    • Sign in again: Log out of the JioHotstar account and complete the login process again.
    • Check compatibility: For older televisions, verify whether the TV’s operating system meets JioHotstar’s requirements.

    Bottom Line

    Connecting JioHotstar to a TV is relatively straightforward when the television supports the application. The simplest route is to install JioHotstar directly from the TV’s app store and sign in with your account. If the app isn’t available, Chromecast or another supported streaming device can be an alternative. Before troubleshooting, check the TV’s model and operating system. This can quickly determine whether the issue is device compatibility, the app, the internet connection, or the account.

    FAQs

    Can I watch JioHotstar directly on my smart TV?
    Yes, JioHotstar works directly on several compatible smart TVs, including supported Android TV, Samsung and LG models.
    How do I activate JioHotstar on my TV?
    Open JioHotstar, select Login, follow the displayed instructions, and enter the activation code if your television provides one.
    Can I use Chromecast to watch JioHotstar?
    Yes, connect Chromecast and your smartphone to the same Wi-Fi network, open JioHotstar, tap Cast, and select your TV.
    Why is JioHotstar not appearing on my TV?
    Your television may not meet compatibility requirements. Check its operating system, model year, software updates and supported applications.
    Do I need a JioHotstar subscription to watch content?
    Access depends on the content and account plan. Some titles may require an active subscription, while availability varies across programmes.
  • Troubleshooting Google Maps: What to Do When the Start Button Is Missing

    Troubleshooting Google Maps: What to Do When the Start Button Is Missing

    If you’ve ever opened Google Maps ready for turn-by-turn directions only to find the Start button missing, you’re not alone. This common glitch can stem from outdated apps, location permission issues, or misconfigured navigation settings. Fortunately, most causes are easy to fix. Follow these steps to get back on track.

    Update Your Apps and Operating System

    First, ensure both the Google Maps app and your phone’s operating system are up to date. Outdated software can cause compatibility issues that hide the Start button. Check your device’s app store for updates and install any pending system updates.

    Enable Precise Location and GPS

    Google Maps relies on accurate location data. Go to your device settings and confirm that location services are turned on, GPS is active, and Google Maps has permission to access your precise location. Weak or denied location signals can prevent navigation from starting.

    Select a Valid Destination and Travel Mode

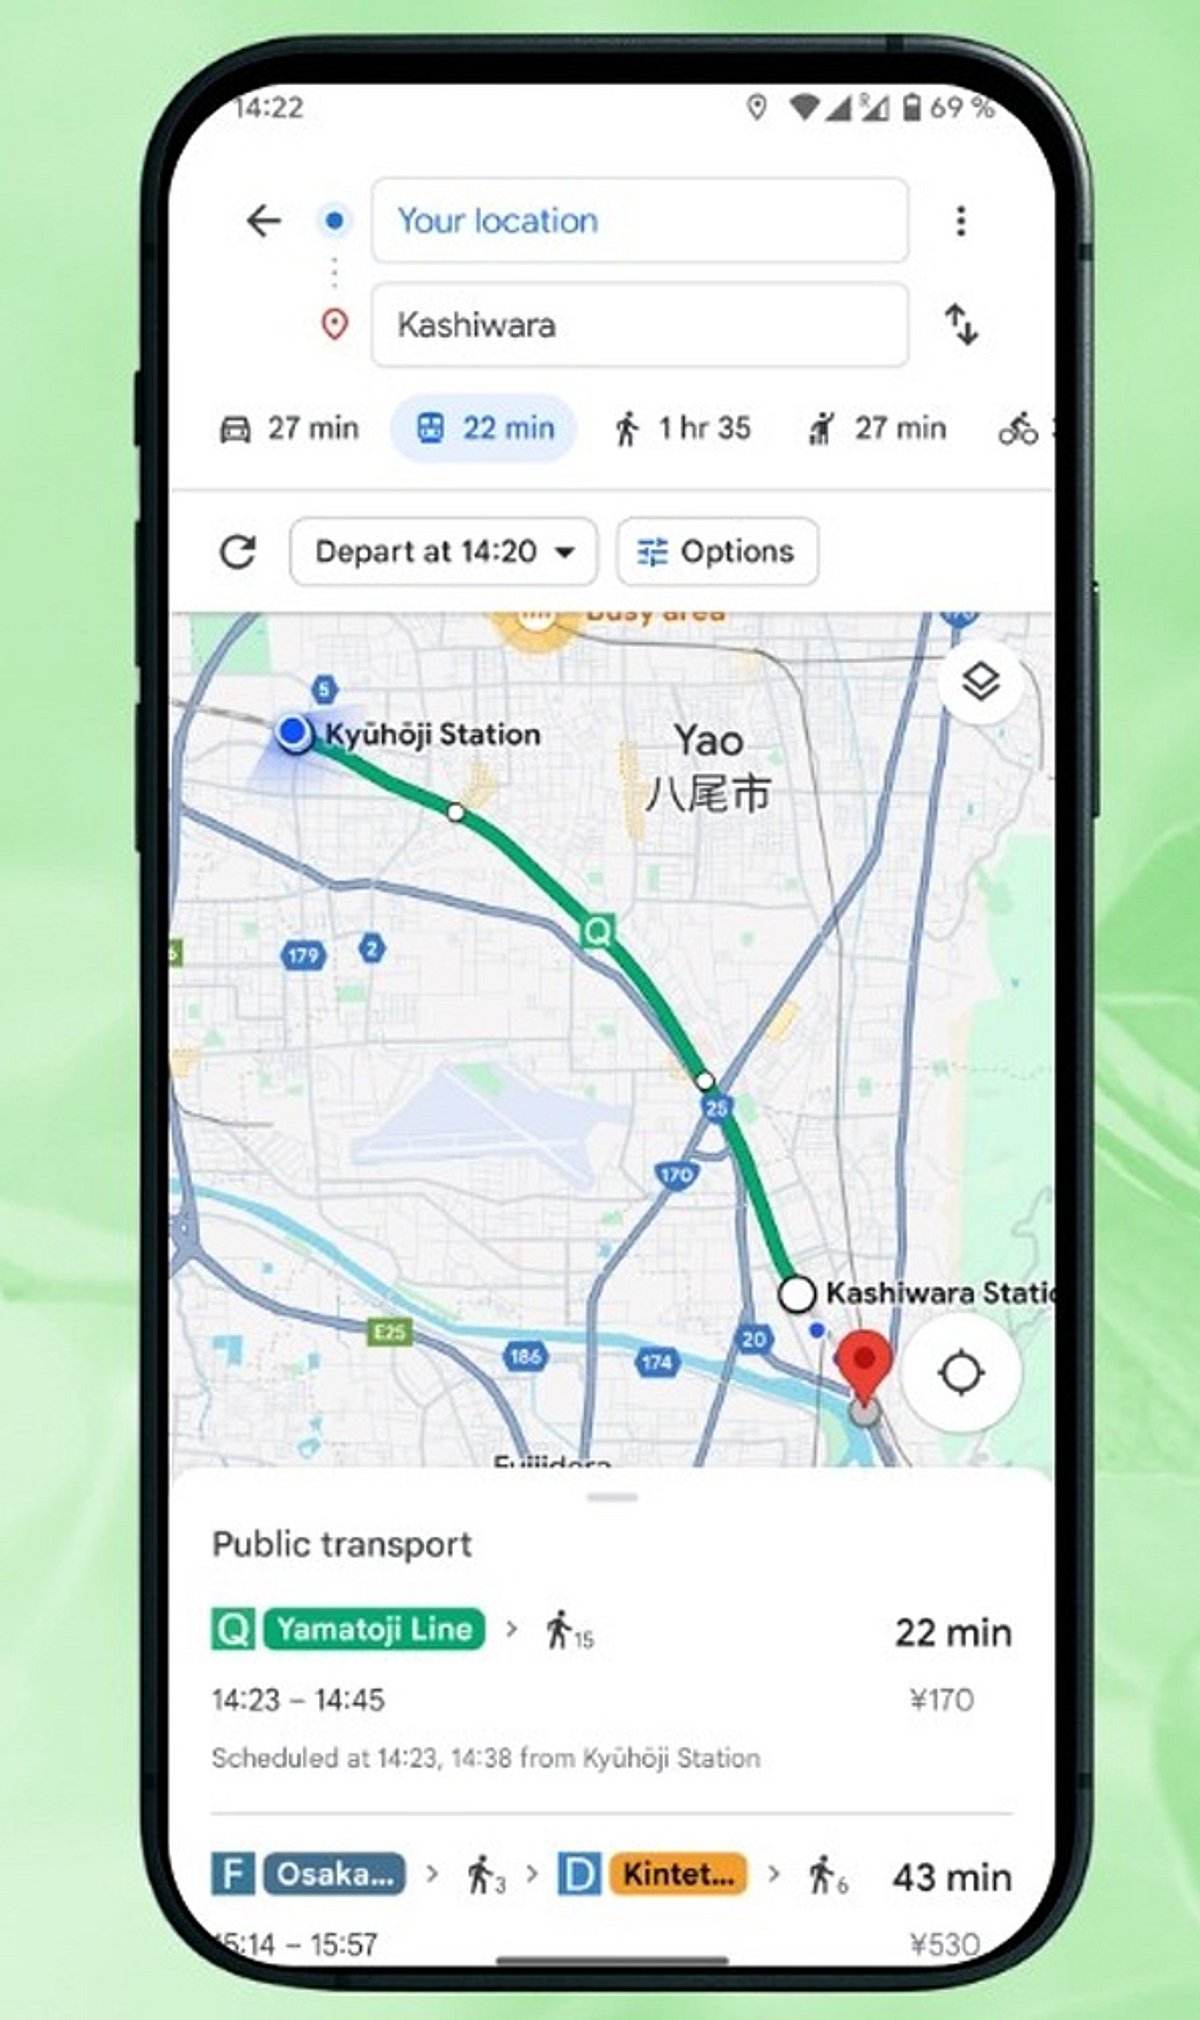
    Before the Start button appears, you must choose a valid destination and a travel mode—Driving, Walking, Cycling, or Transit. Double-check that your destination is correctly entered and that a route exists.

    Disconnect and Reconnect Android Auto or Apple CarPlay

    If you’re using Android Auto or Apple CarPlay, the Start button may be missing due to a connection hiccup. Disconnect your phone from the vehicle system, reconnect it, and then reopen Google Maps. This often refreshes the navigation interface.

    Clear Cache or Reinstall the App

    For Android users, clearing the Google Maps cache can resolve temporary data corruption. On an iPhone, reinstalling the app may be more effective. Always restart your device after these steps to ensure changes take effect.

    Disable Battery Optimization for Google Maps

    Aggressive power-saving settings can interfere with navigation features. Check your phone’s battery optimization or background restrictions and set Google Maps to ‘Unrestricted’ or ‘Not optimized.’ This allows the app to run smoothly even when in the background.

    Check Your Internet Connection

    While offline maps work for basic routing, live navigation features like real-time traffic and turn-by-turn directions require a stable internet connection. Switch to Wi-Fi or ensure your mobile data is strong.

    Report the Issue to Google

    If none of the above steps work, submit feedback through the Google Maps Help section. Temporary bugs are often addressed in future updates, and your report helps developers prioritize fixes.

    By systematically checking these common culprits, you can usually restore the Start button and get back to navigating with confidence.