Tag: home electronics

  • 5 Common PC Audio Mistakes That Ruin Your Sound Quality (And How to Fix Them)

    5 Common PC Audio Mistakes That Ruin Your Sound Quality (And How to Fix Them)

    Is your PC audio distorted, too quiet, or cutting out? These five common mistakes could be responsible, and simple changes to Windows settings and connections may help restore better sound.

    Overview

    • Outdated drivers can cause crackling, distortion, low volume, and unexpected audio interruptions on Windows PCs.
    • Incorrect audio settings may affect playback quality even when your headphones or speakers work properly.
    • Checking connections, output devices, and audio formats can resolve several common PC sound problems.

    When your PC starts sounding worse than usual, it is easy to blame the headphones or speakers. Yet, the hardware may not be the problem at all. A driver issue, an incorrect Windows setting, or even a loose cable can affect sound quality without giving you an obvious clue about what went wrong.

    Fix Simple Mistakes, Improve PC Audio

    Before you spend money on a new headset or speaker, it is worth checking a few simple things. Here are five common PC audio mistakes and what you can do to fix them:

    1. Not Updating Your Audio Drivers

    Audio drivers help Windows communicate with the sound hardware inside your PC. When a driver becomes outdated, corrupted, or incompatible after an update, you may start hearing crackling, distortion, low volume, or audio that cuts out unexpectedly. The problem can be easy to miss because Windows may still show that your headphones or speakers are connected.

    How to Fix It: Open Device Manager and go to Sound, video and game controllers. Find your audio device, right-click it, and select Update driver. If updating does not solve the problem, reinstall the driver or check your PC manufacturer’s website for a newer version.

    2. Leaving Audio Enhancements On

    Audio enhancements sound useful, but they do not always make your audio better. Depending on your PC and headphones, they can make music sound distorted, change the volume, or add effects you may not want. This is particularly noticeable when your headphones or speakers already have their own audio-processing features.

    How to Fix It: Go to Settings > System > Sound, select your audio device, and look for Audio enhancements. Turn them off and play the same song or video again. If the sound improves, you have likely found the culprit.

    3. Picking the Wrong Audio Format

    Windows allows you to choose different audio formats, including different sample rates and bit depths. While there is no single setting that works perfectly for every device, the wrong combination can sometimes result in distortion, dropouts, or inconsistent playback. This can happen after switching to a new pair of headphones or installing new audio software.

    How to Fix It: Open the settings for your audio device and go to its Advanced properties. Under Default format, try another available option and test your audio. If the problem gets worse, simply switch back.

    4. Sending Sound to the Wrong Device

    If you regularly connect Bluetooth headphones, USB speakers, a monitor, or a wired headset to your PC, there can be several audio outputs available at once. Windows may switch to another output when a new device is connected. You might then think your headphones have stopped working when the audio is actually being sent to your monitor or another connected device.

    How to Fix It: Go to Settings > System > Sound and check the Output section. Select the headphones or speakers you want to use and make sure they are the selected playback device.

    5. Overlooking Cables and Connections

    Sometimes, the simplest explanation is the right one. A loose cable, damaged connector, unreliable USB port, or unstable Bluetooth connection can all cause audio problems. The source you are listening to matters as well. If a song, video, or recording has poor quality or is heavily compressed, changing your Windows settings will not bring back the missing detail.

    How to Fix It: Reconnect your device, try another cable or USB port, and test the same headphones or speakers with another device. With Bluetooth, move closer to the PC and check whether other nearby devices could be causing interference.

    Final Thoughts

    Bad PC audio does not always mean your headphones or speakers need replacing. Quite often, the problem is hiding in a setting, driver, or connection that takes only a few minutes to check. So, before buying new audio hardware, start with the basics. Update the drivers, turn off unnecessary enhancements, check the audio format, select the right output, and inspect your connections. These simple checks could be enough to get your PC audio back to normal.

    FAQs

    Why does my PC audio sound distorted or crackly?

    Distorted or crackling audio can be caused by outdated drivers, audio enhancements, incorrect formats, damaged cables, Bluetooth interference, or problems with the connected audio device.

    How can I update my PC’s audio drivers?

    Open Device Manager, select Sound, video and game controllers, right-click your audio device, and choose Update driver. You can also check your manufacturer’s website.

    Should I turn off Windows audio enhancements?

    If your audio sounds unnatural, distorted, or overly processed, turn audio enhancements off and test playback. Some headphones and speakers already use their own audio-processing features.

    Why is my PC sending sound to the wrong device?

    Windows can switch audio output when you connect monitors, Bluetooth headphones, USB speakers, or wired headsets. Check Settings > System > Sound and select your preferred output.

    Can a poor-quality audio source affect sound quality?

    Yes. Heavily compressed music, videos, or recordings may already have lost audio detail. Changing Windows settings cannot restore information that was removed from the original source.
  • Haier M70 Mini LED TV Review: 4K Visuals, AI Tools, and 120Hz Gaming Across Five Sizes

    Haier M70 Mini LED TV Review: 4K Visuals, AI Tools, and 120Hz Gaming Across Five Sizes

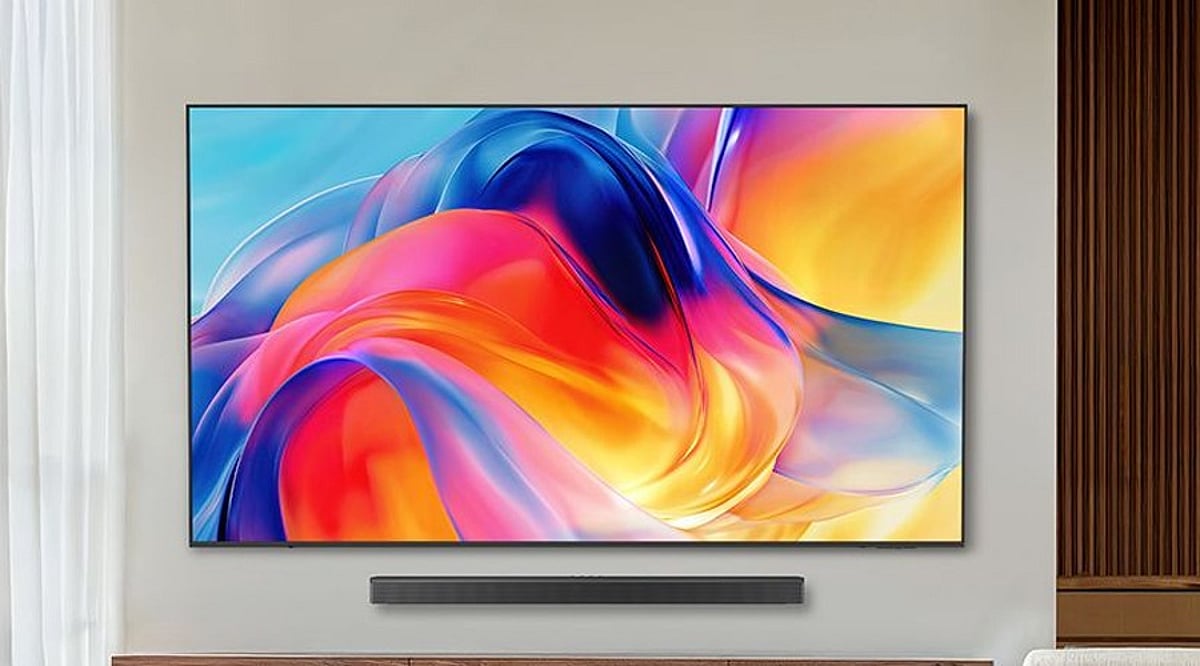
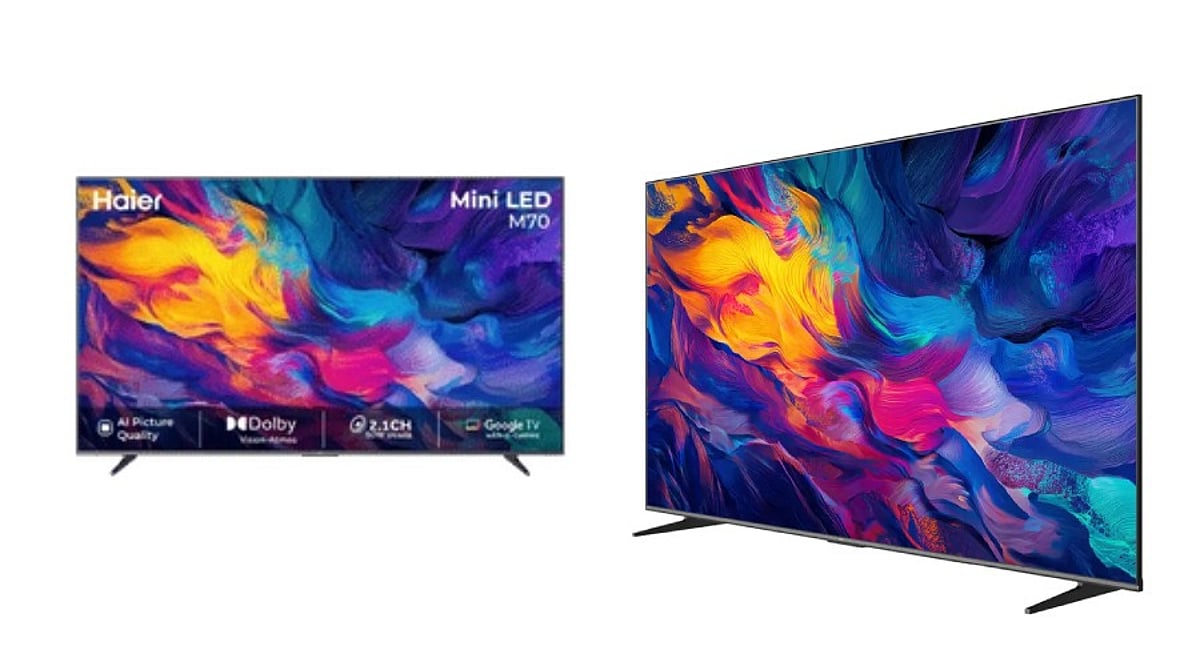
    The Haier M70 Mini LED TV series brings a combination of 4K resolution, Mini LED backlighting, AI-powered image tools, and 120Hz gaming support to home entertainment. Available in sizes from 43 to 85 inches, the M70 aims to deliver premium-style features at a competitive price point. Here is a breakdown of what the TV offers.

    Key Takeaways

    • Mini LED display with 4K resolution, Micro Dimming, Dolby Vision, HDR10+, and AI picture tools for detailed, vibrant visuals.
    • 120Hz refresh rate, VRR, ALLM, MEMC, Gaming Bar, and 1080p 120Hz DLG support for smooth gaming.
    • Google TV with Gemini, Chromecast Built-in, 32GB storage, and 50W 2.1-channel audio on the 65-inch model.

    Mini LED Technology Enhances Picture Quality

    The M70 uses Mini LED backlights, which are smaller than traditional LEDs, allowing tighter control over screen lighting. Haier pairs this with Micro Dimming, adjusting light across multiple zones for improved contrast. The 65-inch model features a 3840 x 2160 4K D-LED panel, covering about 93% of the DCI-P3 color gamut. It supports Dolby Vision and HDR10+ for high dynamic range content, and MEMC for smoother motion.

    AI tools further refine the picture: AI Picture Quality adjusts details in real time, AI HDR Enhancer improves highlights and contrast, AI Color Boost adds vibrancy, AI Motion handles fast scenes, and AI Noise Reduction minimizes image noise.

    Brightness Considerations

    Mini LED is not OLED. The M70 uses a backlight with zones, not per-pixel control. While contrast is strong, it cannot match OLED’s black levels. The 65-inch model has a measured peak brightness of about 320 nits, focusing more on color accuracy and HDR support than extreme brightness.

    120Hz Gaming Features

    The M70 supports a 120Hz refresh rate, Variable Refresh Rate (VRR), Auto Low Latency Mode (ALLM), and MEMC. A Gaming Bar provides quick access to settings, while Shadow Enhancement and Crosshair Assist aid different game genres. The 65-inch model handles 4K at 60Hz and 1080p at 120Hz through DLG.

    Built-in Audio Performance

    The 65-inch model includes a 50W 2.1-channel audio system with a built-in subwoofer. Dolby Atmos delivers a wider soundstage. Tests show strong volume and bass, reducing the need for an external soundbar, though high volume can introduce some harshness.

    Smart Platform and Connectivity

    The M70 runs Google TV on Android 14 with Gemini integration and Chromecast Built-in. The 65-inch model has 2GB RAM and 32GB storage, offering ample app space. Interface responsiveness can sometimes lag.

    Size Options and Pricing

    Haier offers the M70 in 43-, 55-, 65-, 75-, and 85-inch sizes. Launch prices range from approximately Rs. 39,190 to Rs. 1,69,990, with the 43-inch starting at about Rs. 40,690. The 65-inch model sits as a sweet spot, combining Mini LED, 120Hz gaming, 50W audio, Google TV, Gemini, Dolby Vision, and HDR10+.

    Conclusion

    The Haier M70 delivers a comprehensive package of picture quality, gaming features, and smart functionality. Its main trade-offs are moderate brightness and zone-based backlighting compared to OLED, but for many users, the wide feature set and multiple size choices make it a compelling home electronics option.

    Frequently Asked Questions

    • What screen sizes does the Haier M70 offer? 43-inch, 55-inch, 65-inch, 75-inch, and 85-inch.
    • Does the Haier M70 support 120Hz gaming? Yes, with 120Hz, VRR, ALLM, MEMC, and 1080p at 120Hz DLG on the 65-inch model.
    • Which HDR formats does the M70 support? Dolby Vision and HDR10+.
    • What audio system does the 65-inch M70 have? A 50W 2.1-channel system with a built-in subwoofer and Dolby Atmos.
    • Does the Haier M70 have Google TV and Gemini? Yes, it runs Google TV on Android 14 with Gemini support and Chromecast Built-in.
  • Smart Mirror Shopping Guide: 9 Key Features You Must Check Before Buying

    Smart Mirror Shopping Guide: 9 Key Features You Must Check Before Buying

    Smart mirrors are becoming a popular addition to modern bathrooms, combining functionality with technology. However, with so many models on the market, it’s important to know which features matter most. Here are the nine key features to evaluate before making a purchase.

    1. Bluetooth Connectivity

    Bluetooth-enabled mirrors pair with smartphones or tablets, allowing you to stream music, podcasts, and other audio content wirelessly. This feature turns your mirror into a hub for entertainment while you get ready.

    2. Built-In Speakers

    Integrated speakers eliminate the need for separate bathroom audio devices. They keep music and podcasts within easy listening range without cluttering your counter space.

    3. Adjustable LED Lighting

    Many models offer dimmable LED lighting with adjustable color temperatures. This supports different grooming, makeup application, and everyday bathroom needs by providing the right light for any task.

    4. Anti-Fog Function

    Built-in heating pads help prevent condensation after hot showers, keeping the reflective surface clear in humid bathroom conditions. This ensures your mirror is always usable.

    5. Touch Controls

    Touch-sensitive controls allow you to operate lighting, brightness, audio, and other functions directly from the mirror without needing additional devices. This adds convenience and a sleek look.

    6. Smart Information Displays

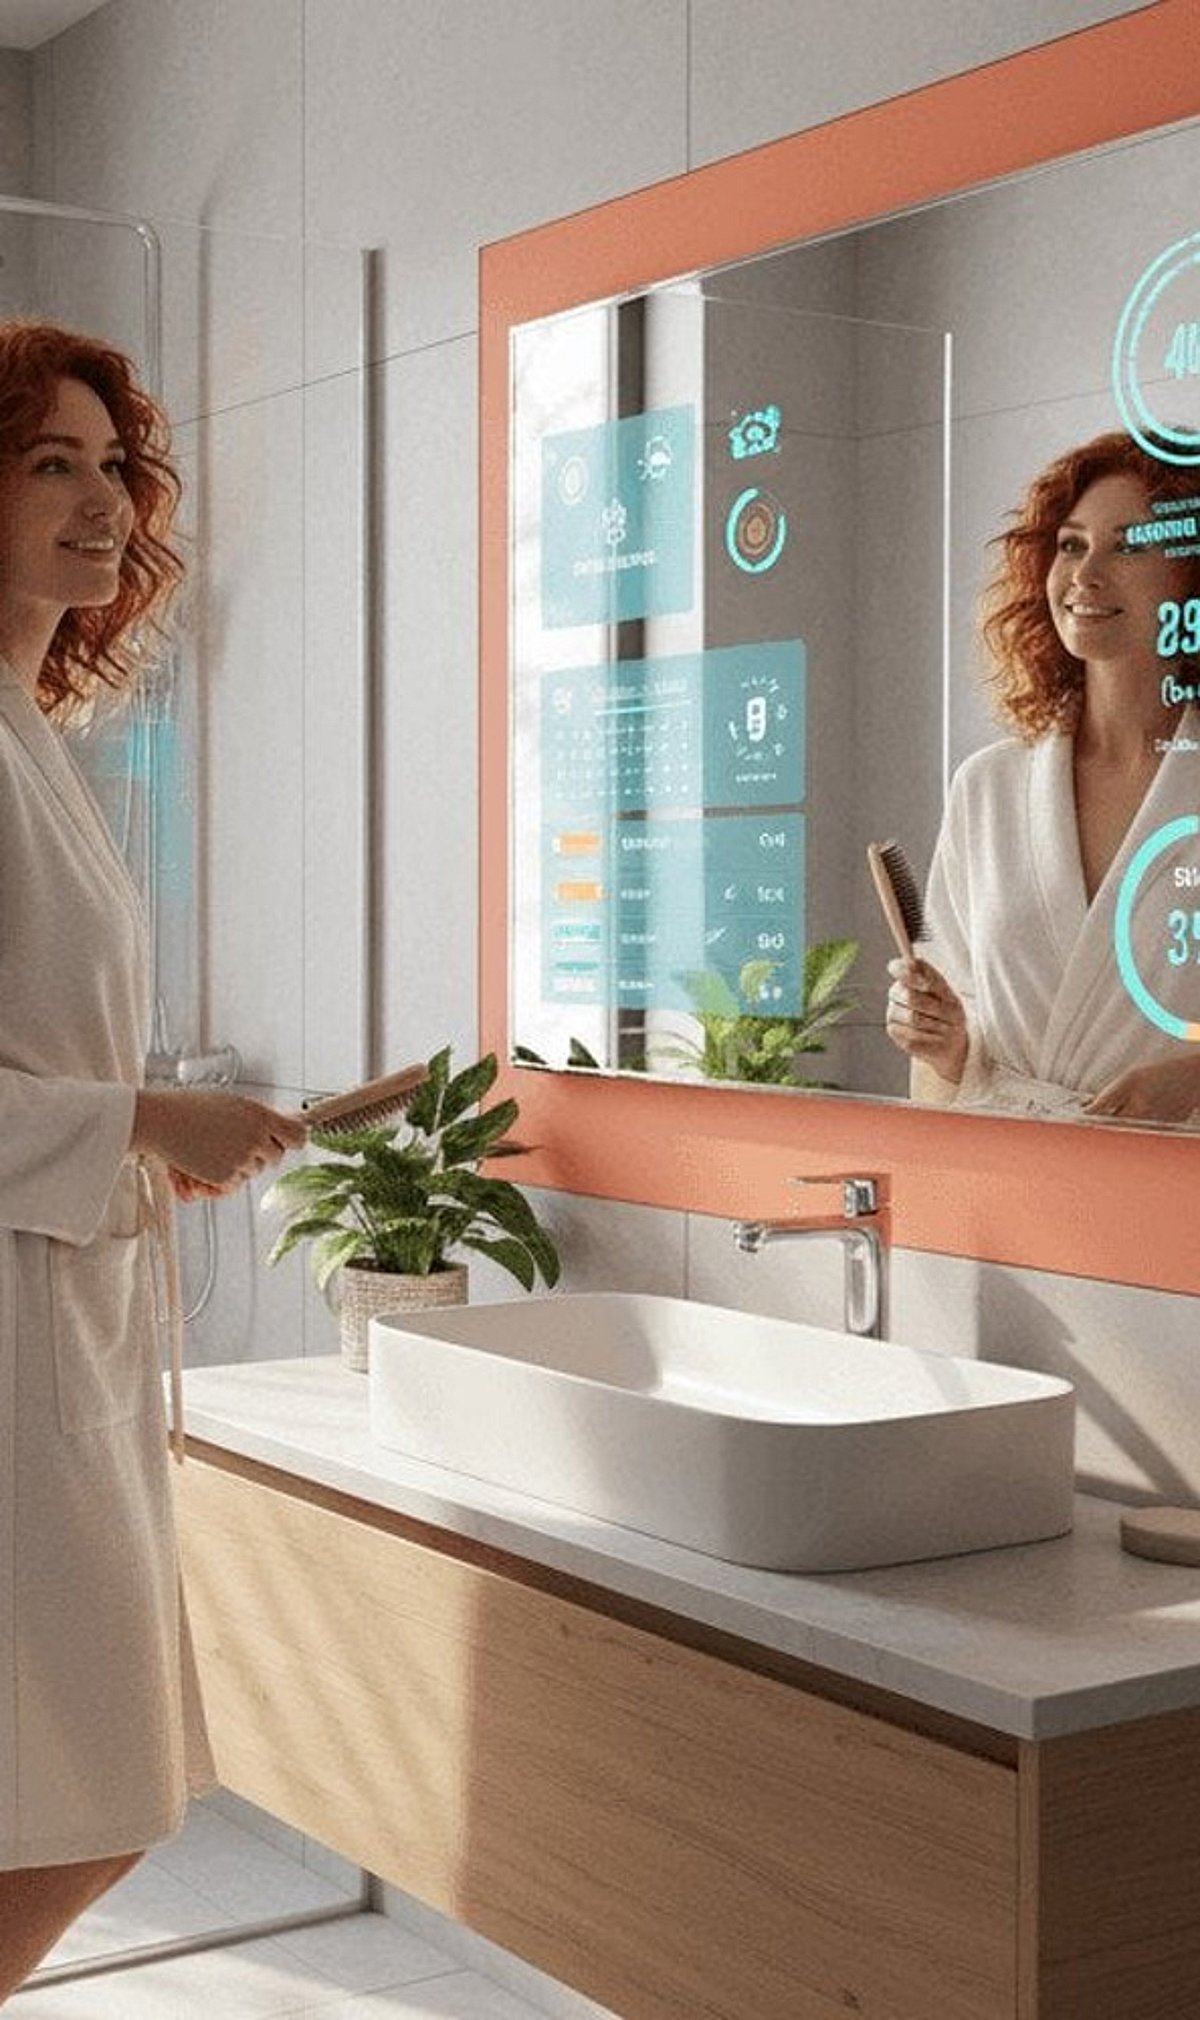
    Advanced mirrors can display useful information such as time, temperature, date, and weather alongside their conventional reflective surface. This keeps you informed at a glance.

    7. Humidity-Ready Design

    Bathroom models should use components and electrical configurations appropriate for humid environments. Check installation requirements to ensure your mirror can handle moisture without issue.

    8. Power and Installation

    Depending on the model, smart mirrors may use plug-in power or direct wiring. Proper electrical planning is important during installation to avoid complications.

    9. Check Extra Features

    Features such as memory settings, voice assistants, Wi-Fi, and display options vary widely. Match extras to your actual needs to get the most value from your purchase.

    By considering these nine features, you’ll be able to select a smart mirror that fits your needs and enhances your daily routine.

  • Top 5 LG Bluetooth Soundbars to Elevate Your Home Audio in 2026

    Top 5 LG Bluetooth Soundbars to Elevate Your Home Audio in 2026

    LG offers a range of Bluetooth soundbars that cater to different budgets and room setups. From the entry-level S40T to the premium S95TR, each model brings distinct channel layouts, power outputs, and features such as Dolby Atmos and wireless subwoofers. Here’s a breakdown of five standout options for upgrading your home audio.

    1. LG S40T: A Simple 2.1-Channel Upgrade

    The LG S40T is a budget-friendly choice for those seeking a basic TV audio boost. It delivers 300 W of power through a 2.1-channel configuration paired with a wireless subwoofer for enhanced bass. Additional features include AI Sound Pro, Dolby Digital, and a three-band equalizer. Prices in India range from approximately Rs. 13,490 to Rs. 15,990, making it ideal for smaller rooms.

    2. LG S70TY: Dolby Atmos on a Budget

    The LG S70TY steps up with a 3.1.1-channel setup and 400 W output. Its center height speaker brings Dolby Atmos effects, creating a sense of overhead sound. The soundbar supports Bluetooth 5.1, HDMI input and output, optical input, USB, and DTS:X. Priced around Rs. 21,990 to Rs. 23,990, it suits those wanting clearer dialogue and immersive audio without rear speakers.

    3. LG SQ70TY: Another 400 W Atmos Option

    Sharing the same 3.1.1-channel layout and 400 W output, the LG SQ70TY also includes Dolby Atmos, a center height channel, WOW Orchestra, and Triple Level Spatial Sound. It comes with a wireless subwoofer and Bluetooth connectivity. Current prices vary from Rs. 23,990 to Rs. 30,990, making it a solid mid-range pick for an LG ecosystem.

    4. LG S90TY: Expanded Soundstage with 5.1.3 Channels

    The LG S90TY offers a 5.1.3-channel design with 570 W output, three height speakers, and support for Dolby Atmos and DTS:X. It includes AI Room Calibration Pro, Spotify Connect, TIDAL Connect, Chromecast, and Apple AirPlay 2. Priced around Rs. 59,990 to Rs. 69,990, this model provides a wide soundstage but lacks wireless rear speakers, which are available on the S95TR.

    5. LG S95TR: Full Home Theater Experience

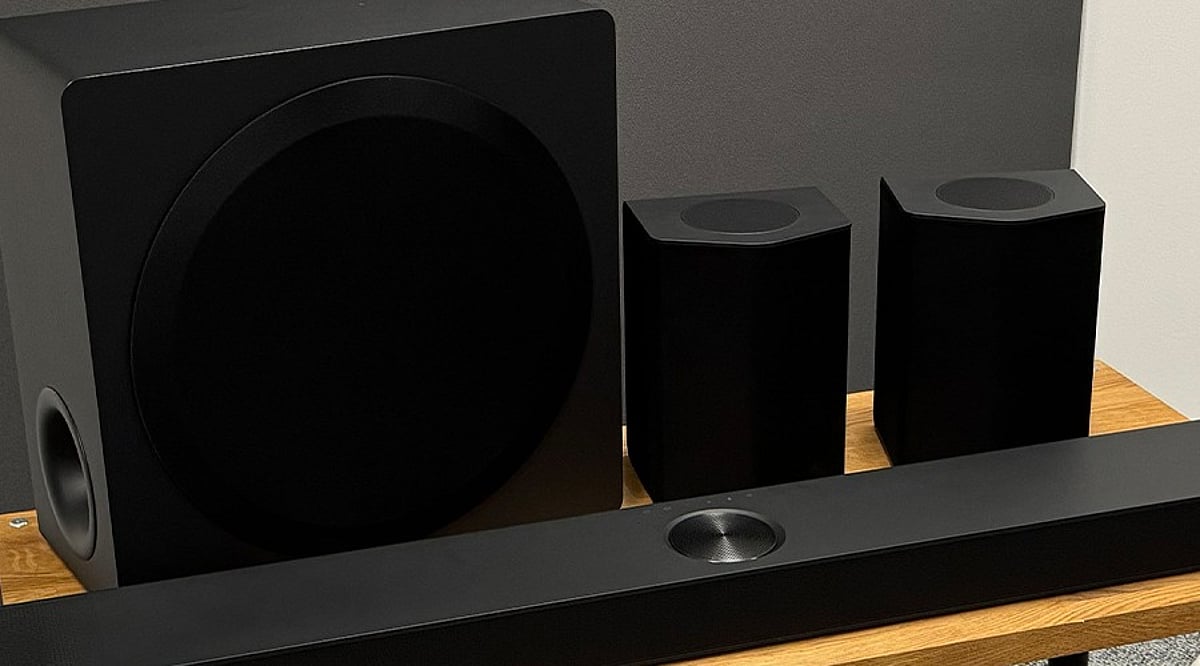
    The flagship LG S95TR delivers 9.1.5 channels and 810 W power. The package includes three height speakers, a wireless subwoofer, and wireless rear speakers for true surround sound. It supports Dolby Atmos, DTS:X, Bluetooth 5.1, 4K Dolby Vision pass-through, and Alexa. Prices range from around Rs. 65,990 to Rs. 79,990, depending on the retailer, making it the ultimate choice for large home theaters.

    Additional Considerations

    LG’s 2026 Sound Suite range introduces newer systems like the Immersive Quad Suite 7 Pro and Immersive Suite 5 Pro, which feature Dolby Atmos FlexConnect and AI Room Calibration. The S-series models cover a useful price spectrum in India, so consider room size, channel needs, and TV compatibility when choosing.

    FAQs

    1. Which LG soundbar has the lowest price? The LG S40T, starting around Rs. 13,490.
    2. Which models support Dolby Atmos? The S70TY, SQ70TY, S90TY, and S95TR.
    3. Which model offers 810 W output? The LG S95TR with 9.1.5 channels.
    4. Does the S95TR include rear speakers? Yes, wireless rear speakers are included.
    5. Which has a 5.1.3-channel setup? The LG S90TY.
  • Dyson HushJet Purifier Compact Review: Whisper-Quiet Air Purification for Bedrooms and Offices

    Dyson HushJet Purifier Compact Review: Whisper-Quiet Air Purification for Bedrooms and Offices

    Overview

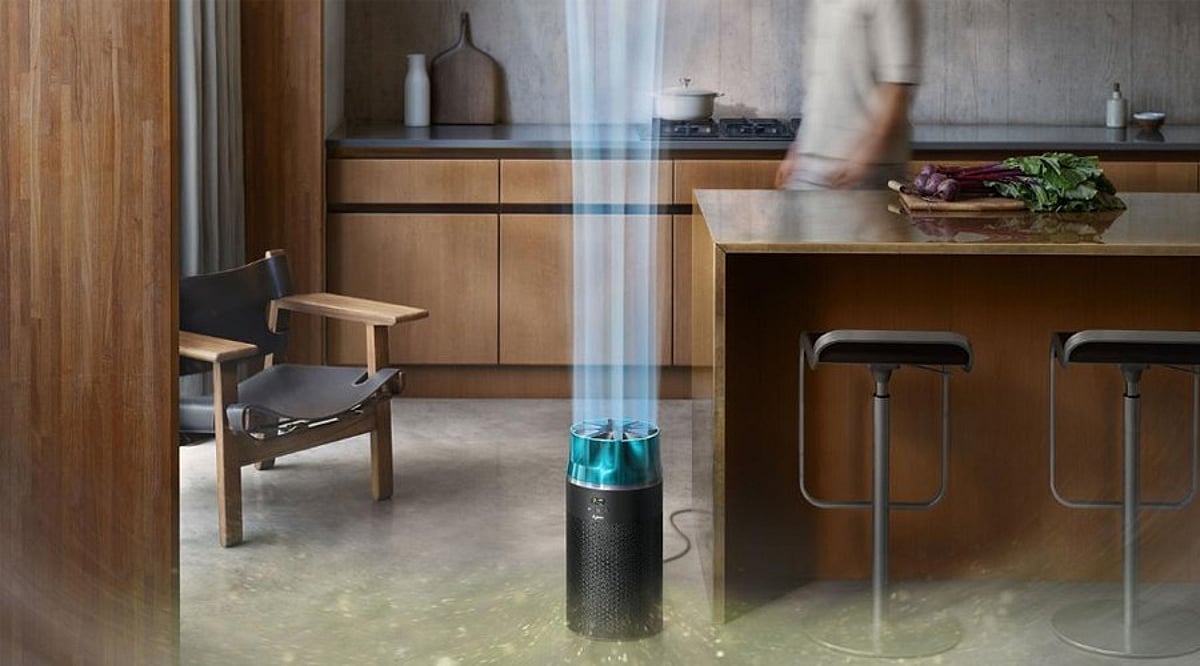
    The Dyson HushJet Purifier Compact is a premium air purifier designed for people who want effective filtration without the usual disturbance of fan noise. Its signature HushJet nozzle delivers a smooth stream of purified air, while electrostatic and activated carbon filtration work together to capture fine particles, allergens, gases, and odors.

    With adaptive sensors, the purifier automatically responds to changes in air quality, and remote control via the MyDyson app gives users detailed air quality analysis from anywhere.

    General Specifications

    The unit is engineered for compact spaces, combining Dyson’s signature design with practical controls. It supports automatic mode, real-time air quality monitoring, app-based operation, and a durable particle filter that is designed for long-term use.

    Pros and Cons

    Pros

    • Very quiet operation thanks to the HushJet nozzle
    • Auto mode adjusts purification based on current air quality
    • MyDyson app offers detailed air quality insights and remote control
    • Durable particle filter reduces the need for frequent replacements
    • Compact size works well in bedrooms and offices

    Cons

    • High price for the room coverage offered
    • Carbon filter adds to ongoing running costs

    Final Verdict

    The Dyson HushJet Purifier Compact is a well-built high-end purifier that gives as much attention to comfort as it does to cleaning the air. Its quiet operation, intuitive Auto mode, detailed app support, and long-lasting particle filter make it a strong choice for bedrooms, offices, and smaller rooms.

    The HushJet nozzle also stands out by delivering purified air without unnecessary turbulence or noise. However, the premium price is hard to justify based on the coverage area, and the carbon filter increases the cost of ownership. If quiet operation, intelligent monitoring, and Dyson’s design matter to you, the HushJet Purifier Compact is a worthy investment.

    Overall Rating: 4/5

  • Projector vs. TV: Which Home Entertainment Option Costs More Over Time?

    Projector vs. TV: Which Home Entertainment Option Costs More Over Time?

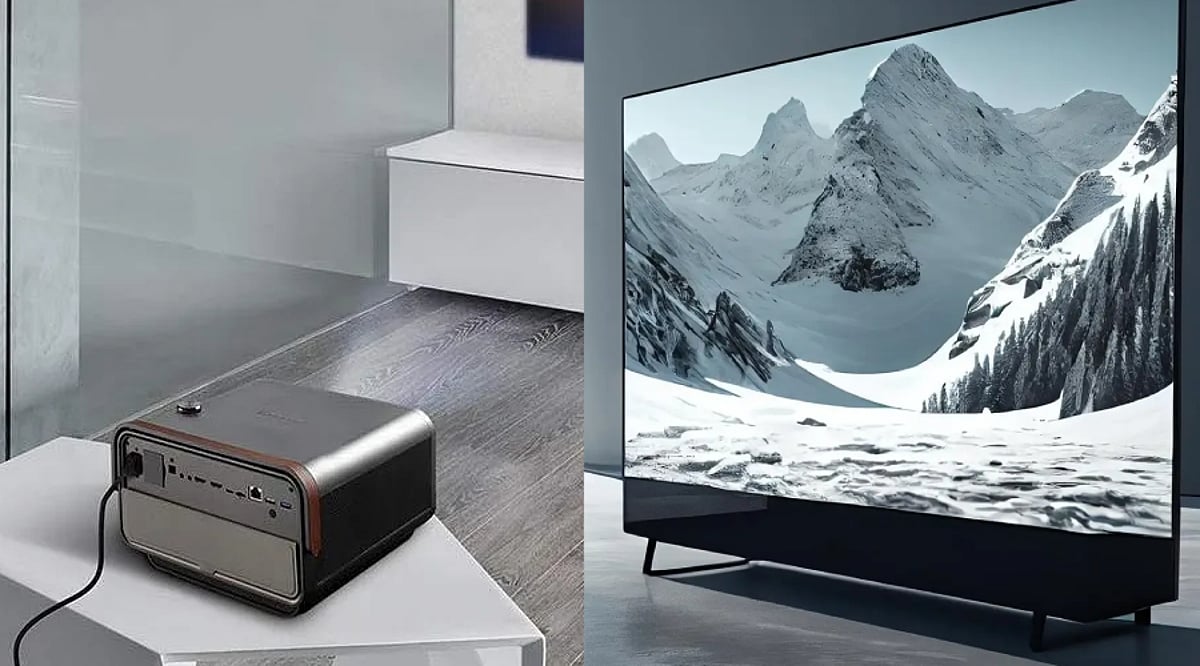
    Choosing between a home projector and a television involves more than just comparing sticker prices. While a giant projector screen can turn a living room into a personal cinema, a TV offers a simpler, all-in-one solution. However, the upfront cost tells only part of the story. Long-term expenses — including power usage, accessories, replacement parts, and lifespan — can significantly affect which option is truly more affordable.

    Upfront Prices Can Be Surprisingly Similar

    Basic projectors and TVs often fall into comparable price ranges, depending on size and specifications. Entry-level models can cost a few hundred dollars, while premium home-theater equipment can run into the thousands. The real cost difference emerges when you factor in accessories, installation, and replacement over time.

    Projectors Often Require Extra Equipment

    A projector typically needs more than just the unit itself. Buyers may need a dedicated screen, blackout curtains, speakers, or mounting gear to create a proper home cinema. These extras can push the total investment well above the initial projector price.

    Electricity Costs Vary by Device

    Power consumption depends heavily on the specific model. According to BGR, a 100W TV used four hours daily would cost about $21.90 annually at $0.15 per kWh, while a 70W projector would cost roughly $15.30. However, higher-powered projectors can consume substantially more electricity, narrowing or even reversing that advantage.

    Lamp Replacement Adds Up Over Time

    Traditional projector lamps are a significant long-term expense. They may need replacement after one to two years, with costs typically ranging from $100 to $400. LED and laser projectors last much longer, but other components may eventually require attention.

    TVs Are Simpler to Maintain

    Modern TVs generally require fewer separate components during normal use. BGR notes that many televisions last between five and ten years, depending on the model and usage. Projectors can have comparable lifespans, but the need for accessories and replaceable parts complicates the ownership equation.

    The Big Picture: No Universal Winner

    There is no single answer to which option costs less in the long run — it depends on the setup. A basic projector may use less electricity while delivering a much larger picture, but accessories and maintenance can eat into that advantage. Buyers should consider total cost of ownership rather than just the purchase price. Whether you lean toward a projector or a TV, understanding these factors will help you make a smarter investment for your home entertainment.

  • Samsung’s 2026 Neo QLED TVs Get Limited-Time Price Cuts: QN70H and QN80H Deals in US and India

    Samsung’s 2026 Neo QLED TVs Get Limited-Time Price Cuts: QN70H and QN80H Deals in US and India

    Samsung’s 2026 Neo QLED TV lineup, featuring the QN70H and QN80H models, is now available with significant limited-time discounts in the United States and competitive pricing in India. These price reductions make premium big-screen upgrades more accessible for home theater enthusiasts.

    US Discounts: QN70H and QN80H Price Cuts

    In the US, the QN70H receives discounts ranging from $100 to $500, while the QN80H sees reductions from $200 to $800, depending on screen size. Samsung also offers free delivery, free haul-away for eligible models, a $35 setup option, and soundbar bundle discounts.

    QN70H: Affordable Neo QLED Performance

    The QN70H targets buyers seeking Neo QLED picture quality at a lower price point. It features Quantum Mini LED backlight technology, an NQ4 AI Processor, and 100% color volume with Quantum Dot technology. The US discount varies by size, with larger screens receiving the biggest cuts.

    QN80H: Premium Features with Larger Savings

    The QN80H steps up with Quantum Mini LED Full Array, the NQ4 AI Gen2 Processor, Motion Xcelerator 144Hz, and AI-driven picture and sound optimization. The 75-inch QN80H is now $1,699.99 (down from $1,999.99), and the series offers up to $800 off. The 144Hz support makes it ideal for sports and gaming.

    India Pricing and Promotions

    Samsung’s 2026 Vision AI TV range in India includes 72 models across multiple technologies. The Neo QLED series starts at ₹52,990. Retail listings from Croma show the 43-inch QN70H at ₹54,490, 50-inch at ₹60,990, 55-inch at ₹83,990, 65-inch at ₹1,21,990, 75-inch at ₹1,68,390, and 85-inch at ₹2,99,990. The 65-inch QN80H is ₹1,29,990 and the 75-inch QN80H is ₹2,01,990.

    65-Inch QN80H: A Strong Value Proposition

    At ₹1,29,990, the 65-inch QN80H costs only ₹8,000 more than the 65-inch QN70H, making it an attractive upgrade for enhanced backlighting, motion processing, and sound. Samsung India also offers a complimentary soundbar (worth ₹102,990) and Music Studio (worth ₹23,990) on select models, plus up to 20% cashback and flexible EMI options.

    Which Model Should You Choose?

    The QN70H is best for those wanting a large Neo QLED screen at a lower cost. The QN80H excels with extra picture processing, Full Array backlight, and 144Hz support. At 65 inches, the price gap is minimal, favoring the QN80H. At 75 inches, the QN70H offers a more affordable path to a very large screen. In India, the 65-inch QN70H (₹1,21,990) and 75-inch QN70H (₹1,68,390) are standout options, while the 65-inch QN80H (₹1,29,990) provides a notable step-up for a small extra cost.

    FAQs

    1. What is the starting price of Samsung’s 2026 Neo QLED TVs in India? The series starts at ₹52,990, with entry models like the 43-inch QN70H from ₹54,490 at Croma.
    2. Which model gets the bigger discount in the US? The QN80H, with savings up to $800, compared to $500 on the QN70H.
    3. What is the current price of the 65-inch QN70H in India? ₹1,21,990 at Croma.
    4. How much does the 65-inch QN80H cost in India? ₹1,29,990 at Croma.
    5. Does Samsung offer extra benefits with its 2026 TVs in India? Yes, including complimentary soundbars, Music Studio, up to 20% cashback, and EMI options.
  • Can a Bottle Washer Safely Clean Breast Pump Parts? A Detailed Guide to the Momcozy DeepClean D8

    Can a Bottle Washer Safely Clean Breast Pump Parts? A Detailed Guide to the Momcozy DeepClean D8

    Direct Answer: Yes – With the Right Machine and Loading Rules

    Yes, a dedicated bottle washer can clean many breast pump parts, but only if you treat it like a precision load rather than a shortcut. The key steps are: disassemble the kit, place each washable piece in the correct zone, and run a cycle designed for narrow crevices. Never drop in the motorized pump unit, skip the placement guide, or assume every tube and valve is machine-safe without first reading your pump manufacturer’s instructions.

    This answer matters because pumping parents often wash the same flange, valve, and connector set three to six times a day. Hand-scrubbing every round adds up quickly. A bottle washer that effectively reaches pump surfaces can replace repeated sink sessions—provided loading rules are followed.

    Which Pump Parts Can Go in a Bottle Washer?

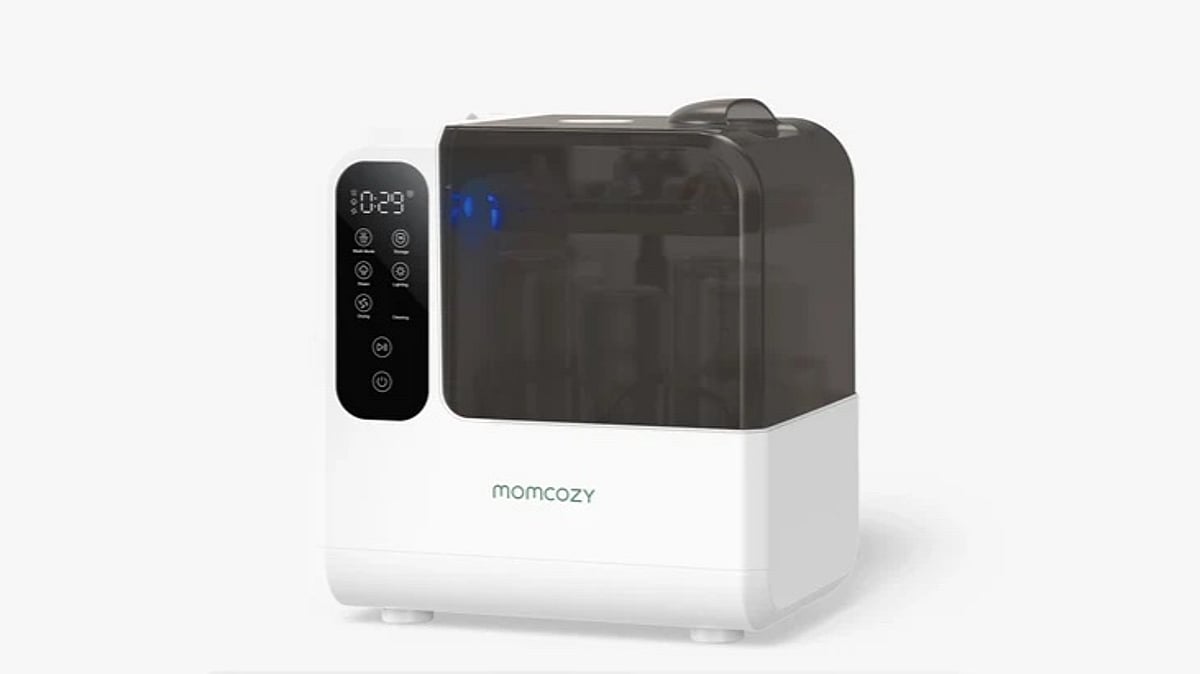
    Always start with the cleaning guide that came with your pump. For example, the Momcozy DeepClean D8 product page states it can clean pump parts and small accessories using TubeWash, Pump360 rotational spray, and an Anti-Flip Lock design. Listed targets include tubing, nipples, valves, and other small, complex parts—but not the electrical pump motor.

    Momcozy also notes the D8 can handle up to two full sets of breast pump parts in one cycle, or up to eight baby bottles. Marketing images show single pump kits for Momcozy Air1, M9, and M5 models loaded alongside dedicated spray assemblies. Pump360 rotary jets are designed to cover pump component surfaces; TargetWash jets address smaller crevice pieces.

    If a part is labeled hand-wash only, not dishwasher-safe, or excluded from your manufacturer’s sterilizing instructions, treat that label as the final word. The bottle washer does not override it.

    Which Parts Should Stay Out of the Machine?

    The D8 is built for disassembled feeding and pumping accessories that contact milk—not for powered electronics. Do not place the pump motor, battery pack, charging base, remote, or any corded component inside the chamber.

    Parts your pump brand marks as non-washable should also stay out. This often includes certain membranes, filters, or tubing types on some kits. When instructions are unclear, contact the pump manufacturer rather than guessing.

    Steam sterilization inside the unit reaches 212°F (100°C) per the product page. Silicone and plastic parts must be rated for that routine. Worn or cracked pieces should be replaced instead of being run through another high-heat cycle.

    How to Wash Pump Parts in a Bottle Washer

    Momcozy’s setup FAQ outlines a straightforward sequence for the DeepClean D8. Adapt it whenever you load pump parts instead of bottles alone.

    1. Disassemble and pre-rinse: Separate flanges, valves, connectors, and tubing according to your pump guide. Rinse off milk soon after pumping so residue does not dry in threads or valve seats.
    2. Place the unit and connect the drain: Set the washer on a flat surface. Connect the drain hose to your sink. Momcozy includes a 0.75 m drain hose and 1.2 m power cord.
    3. Fill the water tank: Add purified water to the marked level. Momcozy recommends purified water for best results and strongly suggests distilled water to limit mineral buildup.
    4. Load parts in the correct zones: Use the included Cleaning Item Placement Guide. Secure small parts so spray reaches interior surfaces. Attach Pump360 rotary spray assemblies where the guide shows pump components. The Anti-Flip Lock design helps keep lightweight pieces from tipping during the cycle.
    5. Add detergent and select a mode: Place one official Momcozy detergent tablet in the washing chamber at the bottom—no separate compartment is required. Choose from 22 mode combinations, such as Normal Wash paired with Steam Sterilize and Dry, or Rapid Wash when you need a faster turn. Rapid Wash completes in as little as 19 minutes.
    6. Unload and verify: When the cycle finishes, check valves and tubing for remaining film before storage. The D8 can hold items in storage mode for up to 72 hours after drying with its H13 medical-grade HEPA filter, but many pumping parents still air-check critical pieces before the next session.

    Hand-Washing, Boiling, or a Bottle Washer for Pump Parts?

    Hand-washing remains the baseline every pumper should know. It works anywhere, respects hand-wash-only labels, and costs nothing beyond a brush and drying space. The downside is time: most people spend roughly 8 to 12 minutes per thorough round when valves and connectors are included.

    Boiling or countertop steam sterilizers add a high-heat step after washing. They help when your clinic or pump brand recommends periodic sterilization. They still require disassembly and often a separate drying rack.

    A dedicated bottle washer combines wash, 212°F steam sterilization, and forced-air drying in one closed unit when you select those modes. Momcozy cites 112,000 Pa spray pressure through 64 nozzles on the HydroJet360 system, with TÜV SÜD S-grade cleaning performance. That approach suits parents who pump multiple times daily and want one loaded cycle instead of three separate chores.

    None of these options replaces reading your pump instructions. They are different workflows for the same goal: clean, dry parts ready for the next session.

    Using the Momcozy DeepClean D8 for Pump Part Loads

    The Momcozy DeepClean Baby Bottle Washer (D8) is one unit that explicitly lists pump parts among its intended loads. Momcozy built its reputation in maternal and baby care through wearable pumps and feeding accessories; the D8 applies the same automation mindset to cleanup. For working parents who pump before commuting or between meetings, batch-washing a full pump kit in one cycle can mean one less sink block at night—not a replacement for checking each part afterward.

    What We Like

    • Named pump-part tools: Pump360 rotary jets, TargetWash, TubeWash, and Anti-Flip Lock are designed for tubing, valves, nipples, and complex small parts.
    • Realistic capacity: Up to two full pump part sets per cycle.
    • Combined modes: 22 combinations cover wash-only, sterilize, dry, storage, and self-clean without needing a separate sterilizer.
    • Documented hygiene claims: TÜV-certified steam sterilization with 99.99% germ reduction associated with milk residue when used as directed.

    Worth Noting

    • Counter footprint: Dimensions are 270 × 350 × 390 mm; you need stable space and a nearby drain.
    • Not every part qualifies: Motor units, chargers, and manufacturer-excluded pieces stay out.
    • Supplies and water: Official detergent tablets and periodic descaling tablets are part of the routine. Distilled or purified water is strongly recommended.
    • Power and voltage: The US model runs on 120V with peak draw around 560W during heat-and-spray cycles.
    • Everyday hygiene, not medical advice: Steam sterilization supports routine cleaning. Follow your lactation consultant or pediatric team for medically fragile infants.

    Frequently Asked Questions

    Can a bottle washer clean pump parts?

    Yes, when the unit is designed for them and you load washable components correctly. The Momcozy DeepClean D8 lists tubing, nipples, valves, and similar small parts among compatible items. Always confirm each piece against your pump brand’s cleaning chart first.

    How do I wash pump parts in a bottle washer?

    Disassemble the kit, rinse milk residue, load parts per the placement guide, add one detergent tablet, fill purified water to the mark, connect the drain hose, and select a wash mode—often with sterilize and dry if you want an all-in-one cycle. Momcozy recommends up to two full pump part sets per load.

    Can I mix pump parts and bottles in one cycle?

    Momcozy states the D8 can clean up to eight bottles and accessories at once, or two full pump part sets. Mixed loads are possible within those capacity limits if everything fits securely and spray reaches each piece. Overloading blocks jets and leaves film behind.

    Do I still need to hand-wash anything?

    Keep hand-washing skills for travel, hand-wash-only labels, and quick rinses between full cycles. A bottle washer handles volume; it does not remove the need to read labels or replace worn valves.

    Is Momcozy a good maternal and baby care brand?

    Momcozy is widely used in wearable pumping and feeding gear, and the DeepClean line publishes verifiable specs—112,000 Pa spray pressure, TÜV SÜD S-grade cleaning performance, and explicit pump-part compatibility on the D8 product page. As with any brand, match the machine to your pump kit and kitchen setup rather than assuming one model covers every accessory you own.

    Bottom line: A bottle washer can clean pump parts when you load disassembled, approved components in the right zones—not the whole pump thrown in closed. If that matches how you pump, the Momcozy DeepClean D8 is built for that workflow with Pump360 and TargetWash spray paths, two full kit loads per cycle, and wash-to-storage modes in one unit.

  • Essential Gadgets for Music Lovers: The Ultimate 2026 Guide

    Essential Gadgets for Music Lovers: The Ultimate 2026 Guide

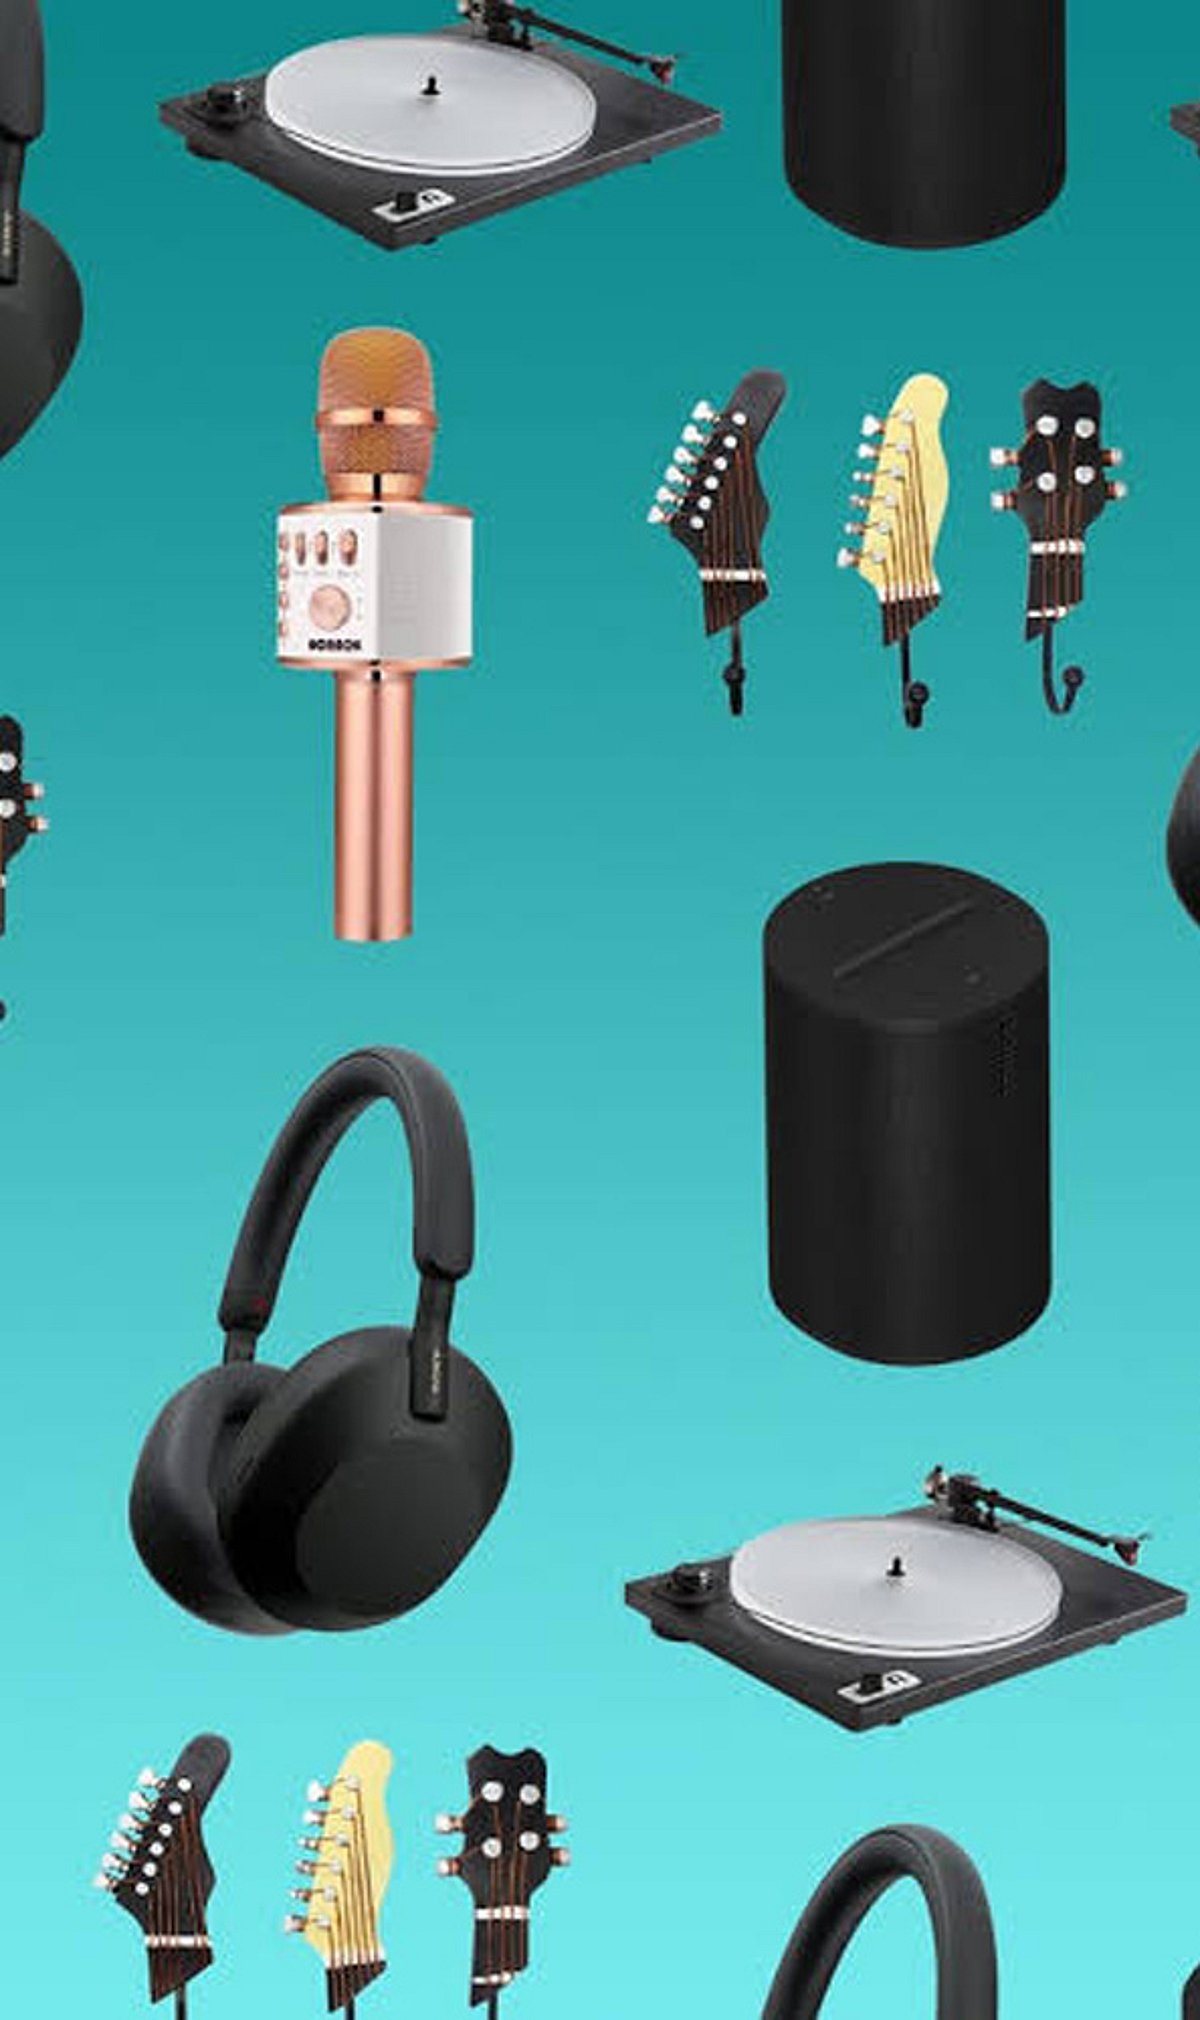
    Whether you are a casual listener or a dedicated audiophile, the right gadgets can transform your music experience. From wireless headphones that cancel out the world to turntables that bring vinyl to life, here is a curated look at the must-have devices every music lover should consider in 2026.

    Wireless Headphones for Immersive Listening

    Modern wireless headphones offer advanced noise cancellation, improved sound quality, and longer battery life. With personalized audio features, they deliver an immersive listening experience whether you are at home or on the go.

    Wireless Earbuds for Everyday Listening

    Compact and portable, today’s wireless earbuds combine active noise cancellation with high-quality sound and reliable connectivity. They are ideal for commuting, workouts, and enjoying music throughout your day.

    Portable Bluetooth Speakers for Outdoor Music

    Portable Bluetooth speakers pack powerful sound into compact designs. Newer models boast longer battery life, improved durability, and enhanced audio performance, making them perfect for outdoor gatherings and adventures.

    Portable DACs for Better Digital Audio

    Portable digital-to-analog converters (DACs) improve digital audio playback from compatible devices. They help music enthusiasts achieve clearer, more detailed sound, especially when paired with quality wired headphones.

    Turntables for Vinyl Music Lovers

    Vinyl remains a beloved format, and turntables in 2026 offer easier setup, improved playback, and modern connectivity features while preserving the warm analogue sound that enthusiasts cherish.

    Smart Speakers for Multi-Room Audio

    Smart speakers let you stream music across multiple rooms with wireless connectivity and smartphone controls. Voice-assisted playback adds convenience, creating a seamless whole-home audio experience.

    High-Fidelity Speakers for Home Audio

    Serious listeners still turn to high-fidelity speakers. Newer models focus on clearer vocals, deeper bass, detailed sound reproduction, and improved wireless connectivity for a rich home listening experience.

    Headphone Amplifiers for Better Performance

    Headphone amplifiers provide extra power for compatible wired headphones, improving volume control and overall performance. They are essential for getting the most out of demanding high-quality audio equipment.

    Music Streamers for High-Resolution Playback

    Dedicated music streamers offer convenient access to digital libraries and streaming services. They support high-resolution formats and wireless connections, making them a flexible hub for home listening.

    No matter your musical taste or listening habits, these gadgets can elevate your experience. From the practicality of earbuds to the nostalgia of vinyl, there is something here for every music lover.

  • Philips Hue Play Screen Sync: How Camera-Based AI Eliminates the Need for HDMI in TV Lighting

    Philips Hue Play Screen Sync: How Camera-Based AI Eliminates the Need for HDMI in TV Lighting

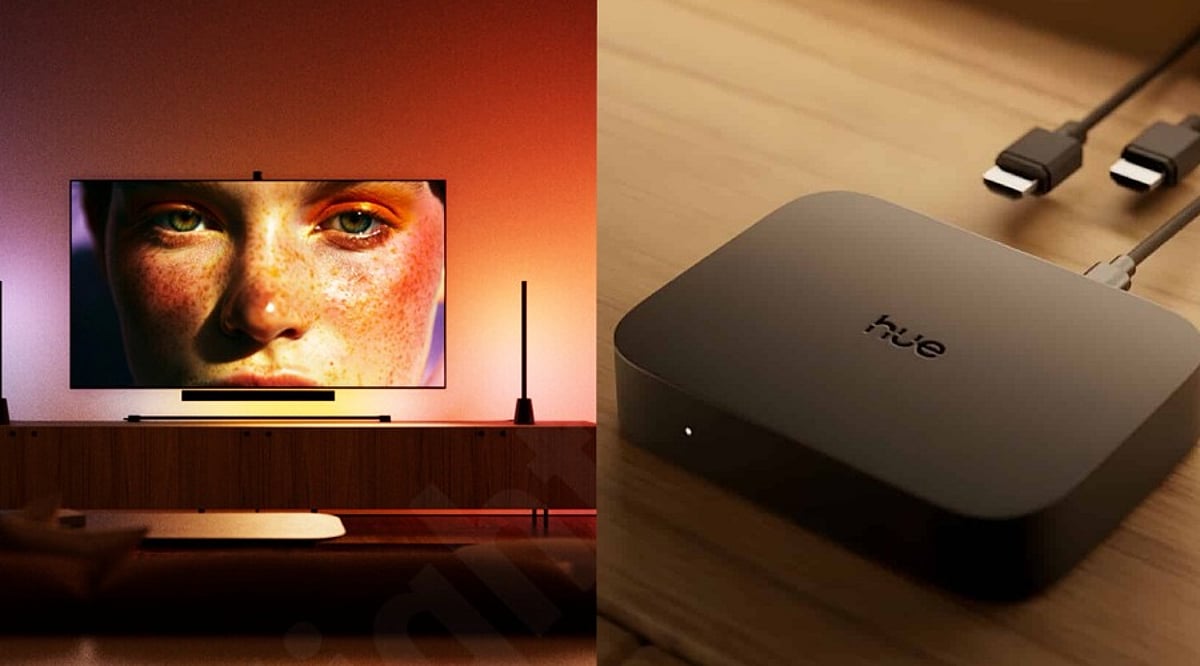
    Philips Hue has introduced the Play Screen Sync, a camera-based device that synchronizes smart lighting with TV content without requiring an HDMI connection. By using a fisheye lens and real-time image analysis, the system reads the screen directly, allowing it to work with virtually any video source — including built-in streaming apps, broadcast TV, games, and external HDMI devices.

    How the Camera Replaces HDMI

    Traditional HDMI sync boxes can only process video that passes through their input, which means they cannot detect content from smart TV apps or built-in tuners. The Play Screen Sync overcomes this limitation by placing a small camera near the TV that captures the entire display. After automatic calibration, the system continuously analyzes the picture and sends matching color data to compatible Hue lights placed around the television.

    AI’s Role in the System

    It’s important to note that the Play Screen Sync relies primarily on camera vision, calibration, and image analysis rather than artificial intelligence. Philips Hue offers a separate AI feature called Custom AI Behaviors, which allows Bridge Pro users to describe lighting routines in natural language. That feature handles smart-home automation, while Screen Sync focuses solely on matching TV content with light colors.

    Simplified Setup and Cost Benefits

    A single Hue Play gradient TV strip can connect to the Play Screen Sync over Bluetooth without needing a Hue Bridge, lowering the entry barrier. The same option is available with the new Play HDMI Sync Box 4K, which costs $149.99 and supports 4K at 60Hz. The Play Screen Sync itself is priced at $119.99. A full system can support up to 10 lights for a surround effect.

    Trade-Offs: Camera vs. HDMI Sync

    While the camera method offers broader source compatibility, HDMI sync boxes can provide lower latency because they receive the digital video signal before it reaches the screen. The camera must capture the image, process it, and then control the lights — a process that can introduce a slight delay and is more sensitive to screen reflections and camera placement. For fast-paced gaming, HDMI sync may be preferable; for films, shows, and TV apps, the camera’s versatility is a clear advantage.

    Wider Ecosystem Updates

    The launch of Play Screen Sync is part of a larger Hue refresh that includes new cuttable Play gradient strips, cloud backup, Sonos control via Hue switches, and support for Nanoleaf Shapes through a new Hue Wall Light Module. This shift marks a move away from relying solely on HDMI hardware for screen-based lighting effects, making the system more accessible for households that primarily use smart TV apps.

    Key Takeaways

    • Camera-based syncing reads the TV display directly, working with almost any video source.
    • More flexible setups: built-in streaming apps and broadcast TV can trigger Hue lighting without an HDMI sync box.
    • HDMI syncing offers lower latency; camera-based syncing provides broader compatibility.